A DIY Midcentury Modern Bait Hive

Spring time is honeybee swarm time! Swarms are how honeybee hives reproduce naturally. It happens when a hive splits into two groups: one group stays in the hive, and a second adventurous group of bees leaves with a queen to find a new home.
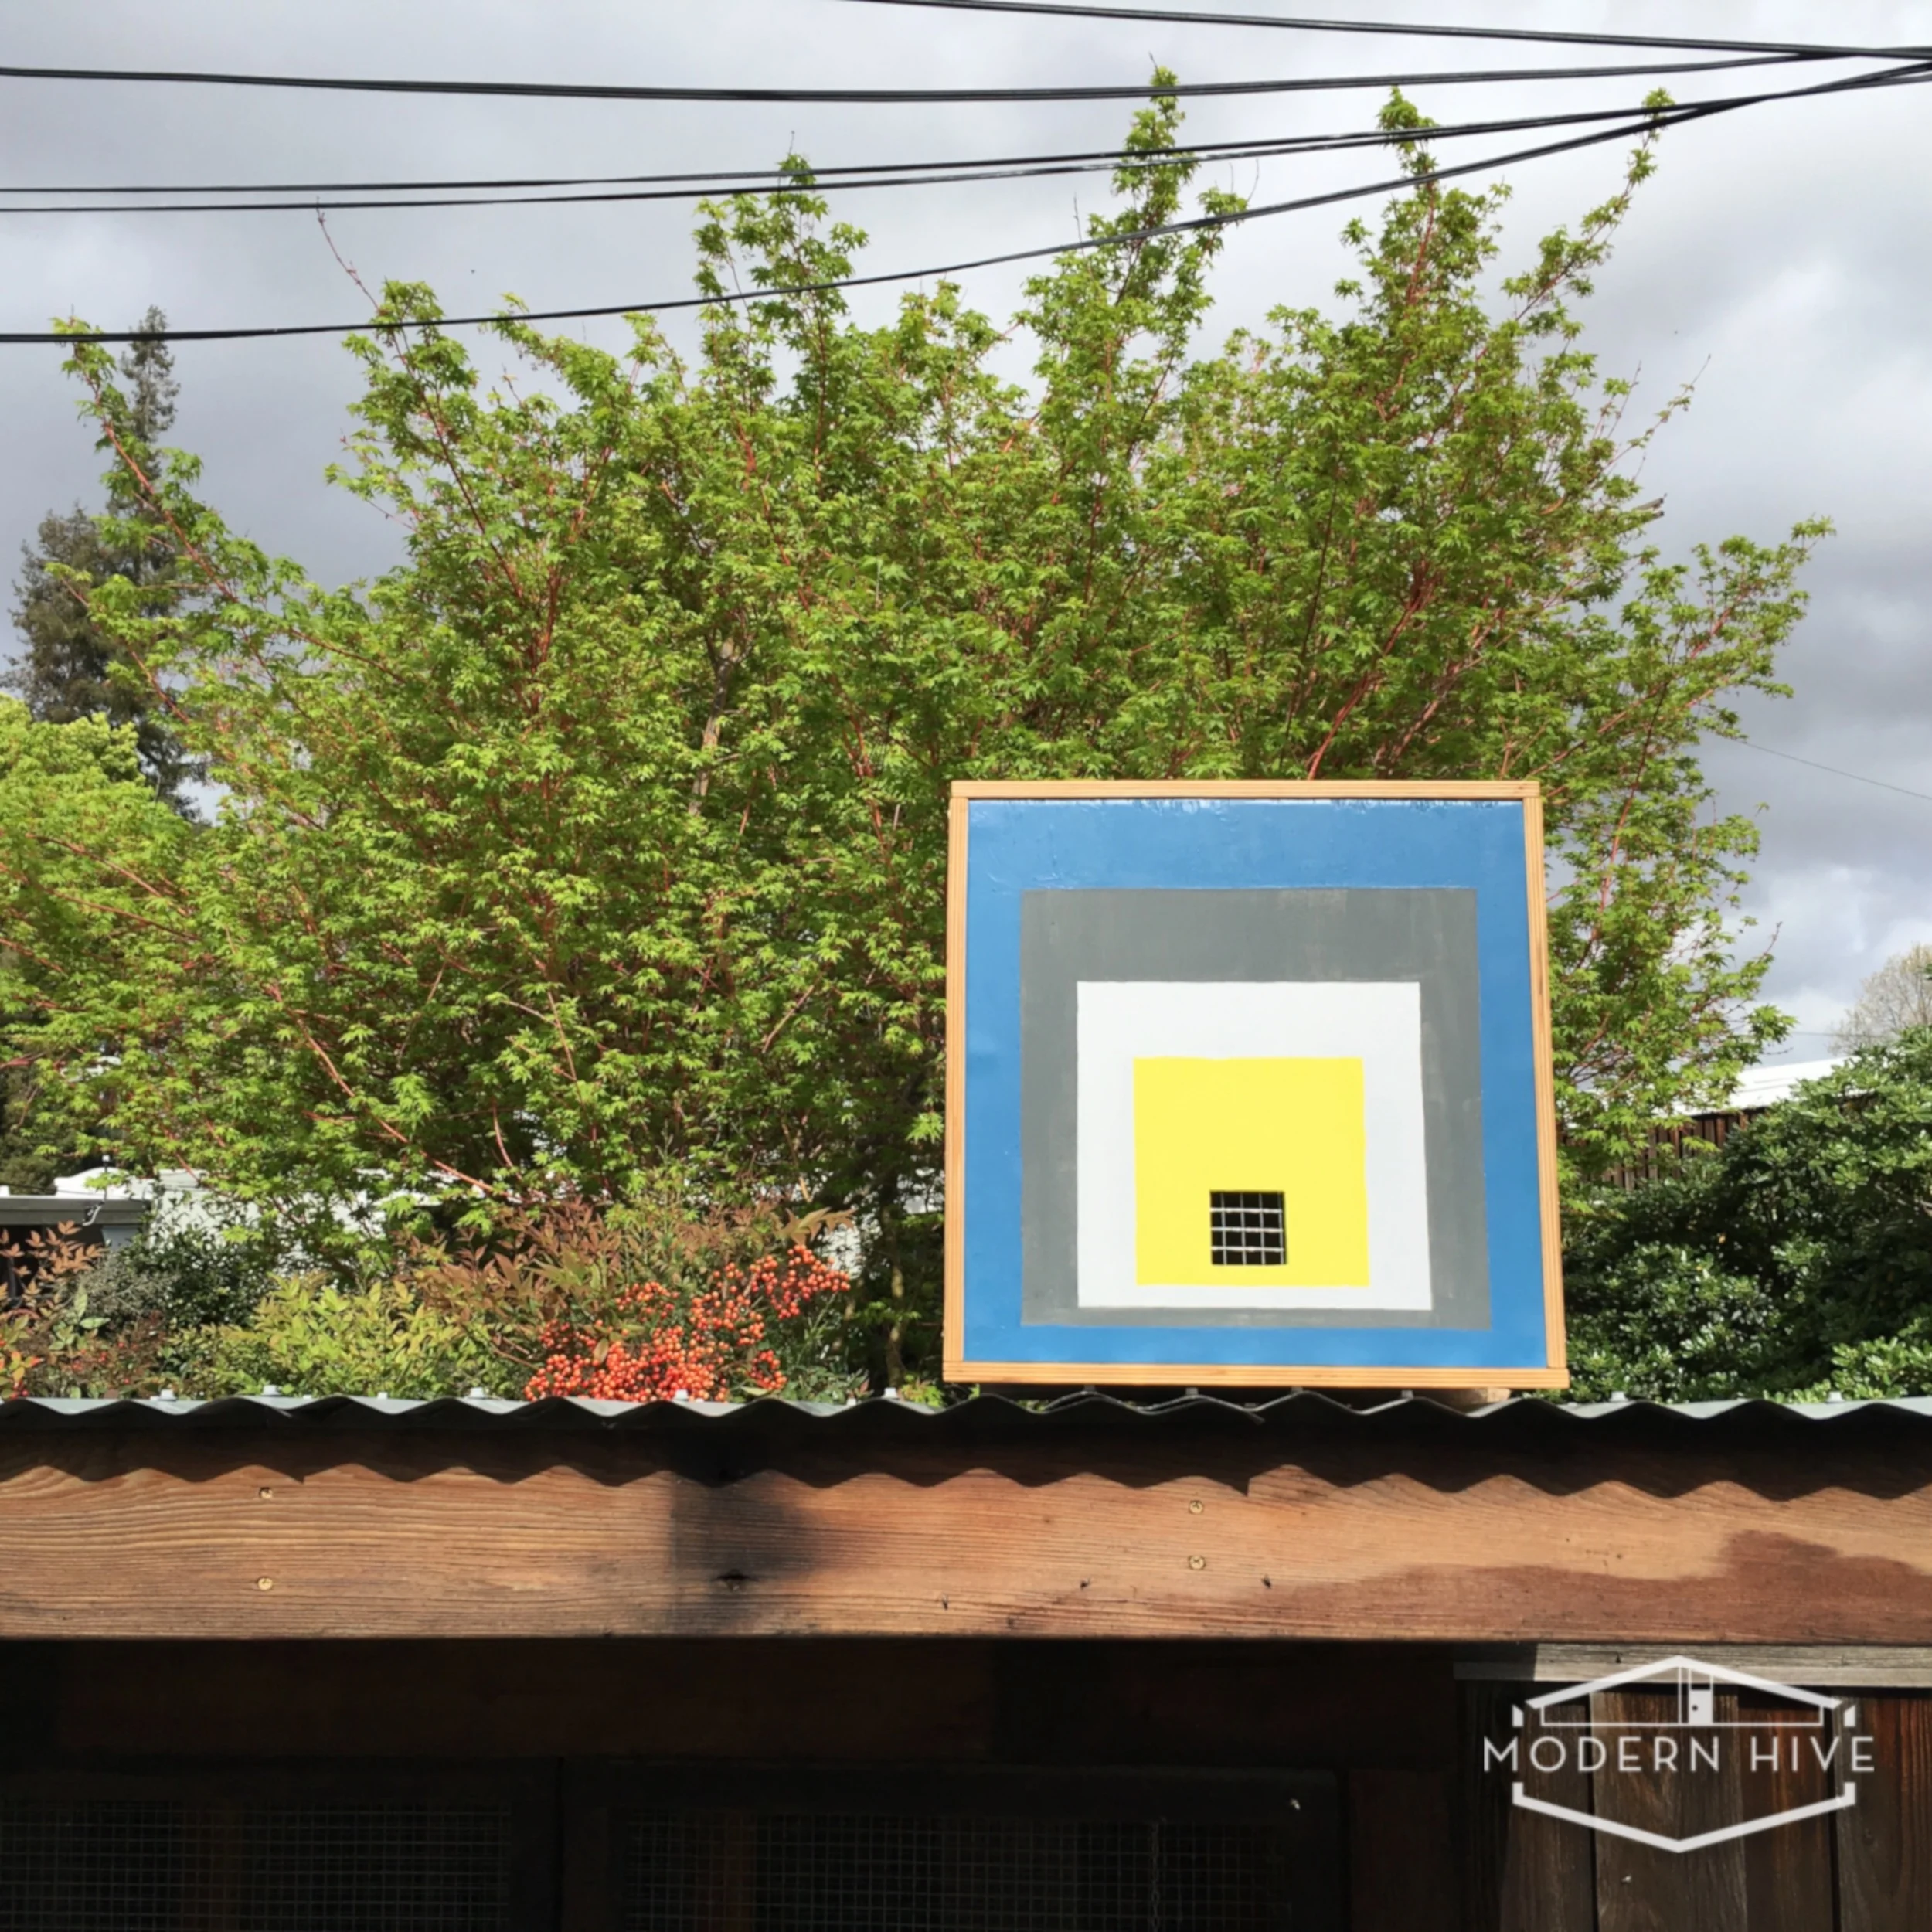
I just built a Modern Bait Hive for our backyard and I am so thrilled to see scout bees coming to check it out. Scout bees inspect a location, like a real estate agent with a tape measure, making sure it has all the qualifications of space / light / location that would make a good home for the new swarm of bees.
Whether you're a beginning urban beekeeper, a seasoned beekeeper, or an adventurous DIY-er there are a couple reasons you'll want to build a temporary home for those bee swarms, also called a "bait hive" or "swarm trap".
Below you'll find "Reasons to Build a Modern Bait Hive" and "Instructions for a Modern Bait Hive." Happy Bait Hive Building!!

REASONS TO BUILD A DIY MODERN BAIT HIVE
It’s a great way to start beekeeping. Free bees for your hive! Many people argue feral bees are more robust since they’re used to our local climate, compared to mail-order bees that may travel across the country and may cost upwards of $125.
It helps capture a wild swarm before the pest controller is called in to exterminate them. Bees are dying off in alarming numbers which has a serious impact on the health of our environment and our food. Capturing them and re-homing them is much better than exterminating them.
It’s a great way to help the bee population, even if you decide that you cannot be a beekeeper. Just as long as you have a ready phone number for a beekeeper to pick up your bees! Our bait box is a temporary home and we call our beekeeper right away so she can pick them up within 12 hours. If she can't come get them, I call the local beekeeper guild and someone is thrilled to take our swarm and re-home them. For Santa Clara County Beeper Guild, there is a whole list of beekeepers to take swarms.
It helps keep our neighbors’ anxiety level down, an important part of urban beekeeping. We want to maintain our good relationship with our neighbors. Having a bee swarm box entices our backyard bees to stay in our yard rather than swarm into theirs. And it shows them we are doing what we can to be responsible with our bees.
Design is important to you. I've looked and most bait hives, store-bought or DIY, are not attractive. Since our bait hive is visible from the house and visible to all of our neighbors, I'd like it to be well-designed.
Design and function are a important for me as a product designer, and we shouldn't have to compromise one for the other.
You want to share your bees and see more of them. Our bees have the perfect disposition for backyard beekeepers so we want to capture them if they decide to swarm. Hives also have their own personalities based on the queen's personality: mean, nice, nervous, calm, etc. Our bees are gentle, healthy little honey-machines and we want to make sure to capture any "offspring" swarms from our current hive.
You want to help our declining bee population. 80% of swarms that move into natural nests do not survive the winter, according to Thomas Seeley. By re-homing them into a safe hive, they are more likely to thrive. Deb from GirlzWurk has rescued bees from some pretty gnarly places like moldy electrical boxes and filthy wall enclosures. We want our local bee population to be healthy and cared for.
Climbing up a tree to capture a wild swarm of bees is not your idea of fun. Luring them in a "to go" box that you can reach is a much better idea.
If any or all of these reasons sound great, let's get to building a Modern Bait Hive!
INSTRUCTIONS FOR BUILDING A MODERN BAIT HIVE

SUPPLIES
- 1/2 thick plywood. Have your lumber store of hardware store cut it into the following sizes
- 4, 15” x 15” squares for the sides
- 2, 15” x 16” squares for the top and bottom
- Wood screws
- Paint (4 complementary colors)
- Paintbrush
- Blue tape
- A ruler & pencil
- Sandpaper
- 3" x 3" square of hardware cloth or any type of mesh to keep out mice
- Mineral oil or clear varnish (optional)
TOOLS:
- A power drill
- Orbital sander (optional)
INSTRUCTIONS:
1. Sand all the wood. Choose one of your 15” x 15” sides as the front panel of the hive. Paint with primer, then mark your squares using a pencil and ruler.
On the front panel, which is a 15” square of wood, I drew:
- a 12” square,
- a 9” square,
- a 6” square,
- and a 2" square.
They are centered along a middle line and stacked ½” from bottom of the square they are nested inside of. The most important square is the 2" x 2" square which will be the entrance for your Bait Hive.

2. Cut a hole for the entrance using the 2" square as a guide. You'll see I painted the front pane before drilling a hole (whoops!). Ideally you'd want to cut out the entrance hold first, then paint. We used a drill bit to make two holes in the corners, and then used a small hand saw to cut the rest out.


3. Sand the opening. This also helps widen the opening if you did not get the exact dimensions in the step above.

4. Paint your squares on the front panel. I used blue tape to keep the edges as clean as possible. The example below doesn't an entrance cut out since I painted first then cut out an entrance.


5. While the paint is drying for your front panel, cut a 3" x 3" mesh to cover the entrance hole.

6. Once the front panel is dry, place the mesh on the inside of the panel so that it covers the entrance completely. This will keep birds and mice from nesting in your nice, dry bait hive.

7. Tack down the corners of the mesh. We used screws, but you can also use a stapler.

8. Once your front is done, you can assemble your bait hive! Take two of your 15" x 15" wood pieces and place one on the left side and one on the right side, so the edges frame your painted panel. Like this:

9. We placed the panels on a level table and used a square while we drilled them together, to make sure our box had 90 degree angles. The screws will be screwed through the sides and won't be visible from the front:

10. Once your sides and back are screwed together into a square, go ahead and attach the bottom panel using one of the 16" x 15" panels.

11. To bait your hive, you can use lemongrass oil acts as a queen lure. We also found that a Langstroth frame fits diagonally inside of the box perfectly. For future designs, I plan to create a way to hang multiple frames for the the bees to build comb onto, but this will work for now.
Be sure not to paint inside the box; bees like untreated, natural wood. You can varnish the outside to weather proof it.
12. Screw the remaining 16" x 15" panel into the top as the lid. Congratulations! Your bait hive is ready to be placed.
Please tag me at @modernhive or #modernhive or send pics to aislin at modernhive dot com. I cannot wait to see what you creative, modern beekeepers do with the DIY Modern Bait Hive.
**August 26, 2016: Note, this swarm box does not have a place for frames. For ease of transfer, I would recommend installing comb guides to guide the bees to build, or "draw down" comb within a frame that you can easily transfer to your new hive. To learn more, see Hilary Kearny's articles on How to Catch a Swarm of Bees and how to build comb guides in her article How To: Foundationless Beekeeping in a Langstroth Hive.
For more information:
- Thomas Seeley’s “Bait Hives for Honey Bees” paper from Cornell University Press.
- Swarm Trap Australia for instructions on resources on swarm traps.
- Assemble Papers “Swarm Trap: the Hive Mind” for step by step directions on a simple Swarm Trap and more information about swarms by the talented Nic Dowse of Honey Fingers, a design studio / beekeeping rescue in Australia.